How to make a Raspberry Pi NAS server
Apr 9, 2022 · 阅读约 3 分钟
Note
Originally posted on my old blog in April 2022. Kept as written. The prices, the links and the advice are all from 2022.
Imagine this senario, you need a lot of pictures and/or important files stored someplace locally, and you want to access it through every computer/phone, but all of your storage is full, how do you store those pictures/files?
Well, the Raspberry pi can be a great soulution. The Raspberry Pi uses a lot less power than a regular NAS server, and it's pretty cheap and easy to setup. So here's how to make it...
Step 1: Getting the components
First, you need these components, some are needed and some are optional:
- Raspberry Pi 4B / 2G RAM: $35 Dollars ¥223 Yuan (You can buy the 4G and 8G version, but it's more pricey)
- Case for Raspberry Pi (Optional): If you are a geek, you can 3D print one like I did, anyways, here it is. (Credit to Michael Klements for designing the case (Aaaand making his own tutorial of the making of the case), he is a great tech youtuber and you should definitely check him out!)
- Micro SD Card (Sandisk 32 GB here): 14 Dollars/89 RMB. This is for system installation, or if you only have a few files, using a 32 gigabyte sd card would be fine.
- SSD or HDD (Optional) (Can be Leftover SSD or HDDs)
- I2C display (Optional if you want the case)
- 3.3V Fan (Optional if you want the case)
Step 2: Installing the Raspberry Pi OS
- Download the Raspberry Pi OS from here. If you want a GUI Graphical Desktop to do gui applications, you can download the full version, but if you want it to be a lighter system and run more smoothly as a NAS server, use the lite version of the OS.
- Open Win32DiskImager and choose the image and transfer it to the Micro SD card OR use Etcher on mac and Rufus on windows, same steps.
- Plug the Micro SD card into the raspberry pi and start it.
Step 3: Commands for the SMB server
Open a terminal and enter this command, this command installs the samba module which is used to create the SMB server:
sudo apt-get install sambaAfter the necessary installation, use nano or vim to edit this file:
sudo nano /etc/samba/smb.conf
# or
sudo vim /etc/samba/smb.conf
Write these lines of code at the end of the file. Inside the top big braclet
[], you should write your NAS Share name there without spaces, e.g.admins-nas-share,Nas-share. The path should be the folder you want to share (Must be created) e.g./home/pi/NAS-SHARE.[Your NAS Share Name (No Spaces)] path = /Your/path/to/the/folder writeable=Yes create mask=0777 directory mask=0777 public=noCreate an account on samba with your Raspberry Pi username. After the terminal prompts you for an password, enter your desired password for samba.
smbpasswd -a (your raspberry pi user account)Restart the samba service:
sudo systemctl restart smbConnect to your file-sharing service. On macOS, go to the "Finder Menu bar":

Click "Go" and click "Connect to server":
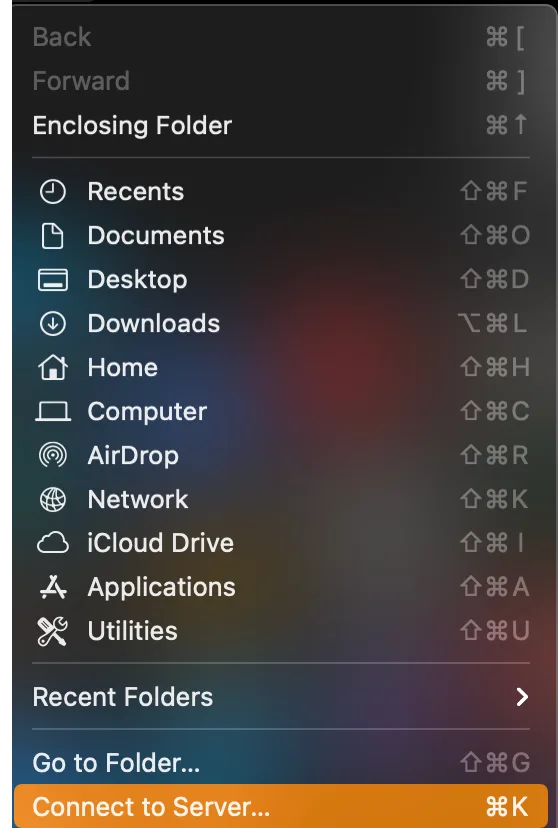
After that, enter your NAS server's ip address and your NAS share name and click "Connect":
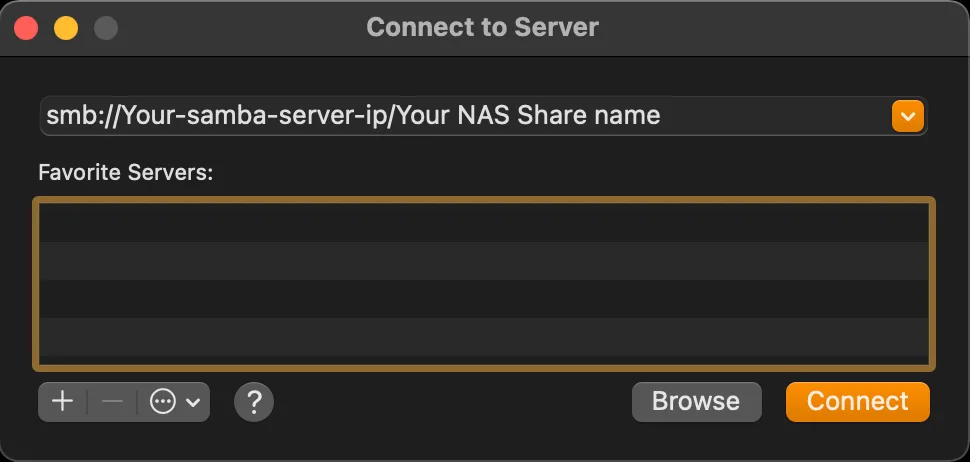
Click on your server and enter the samba credentials.
Now you are done! Access all of your saved files, images, videos on the server!
Here's a showcase of the server:
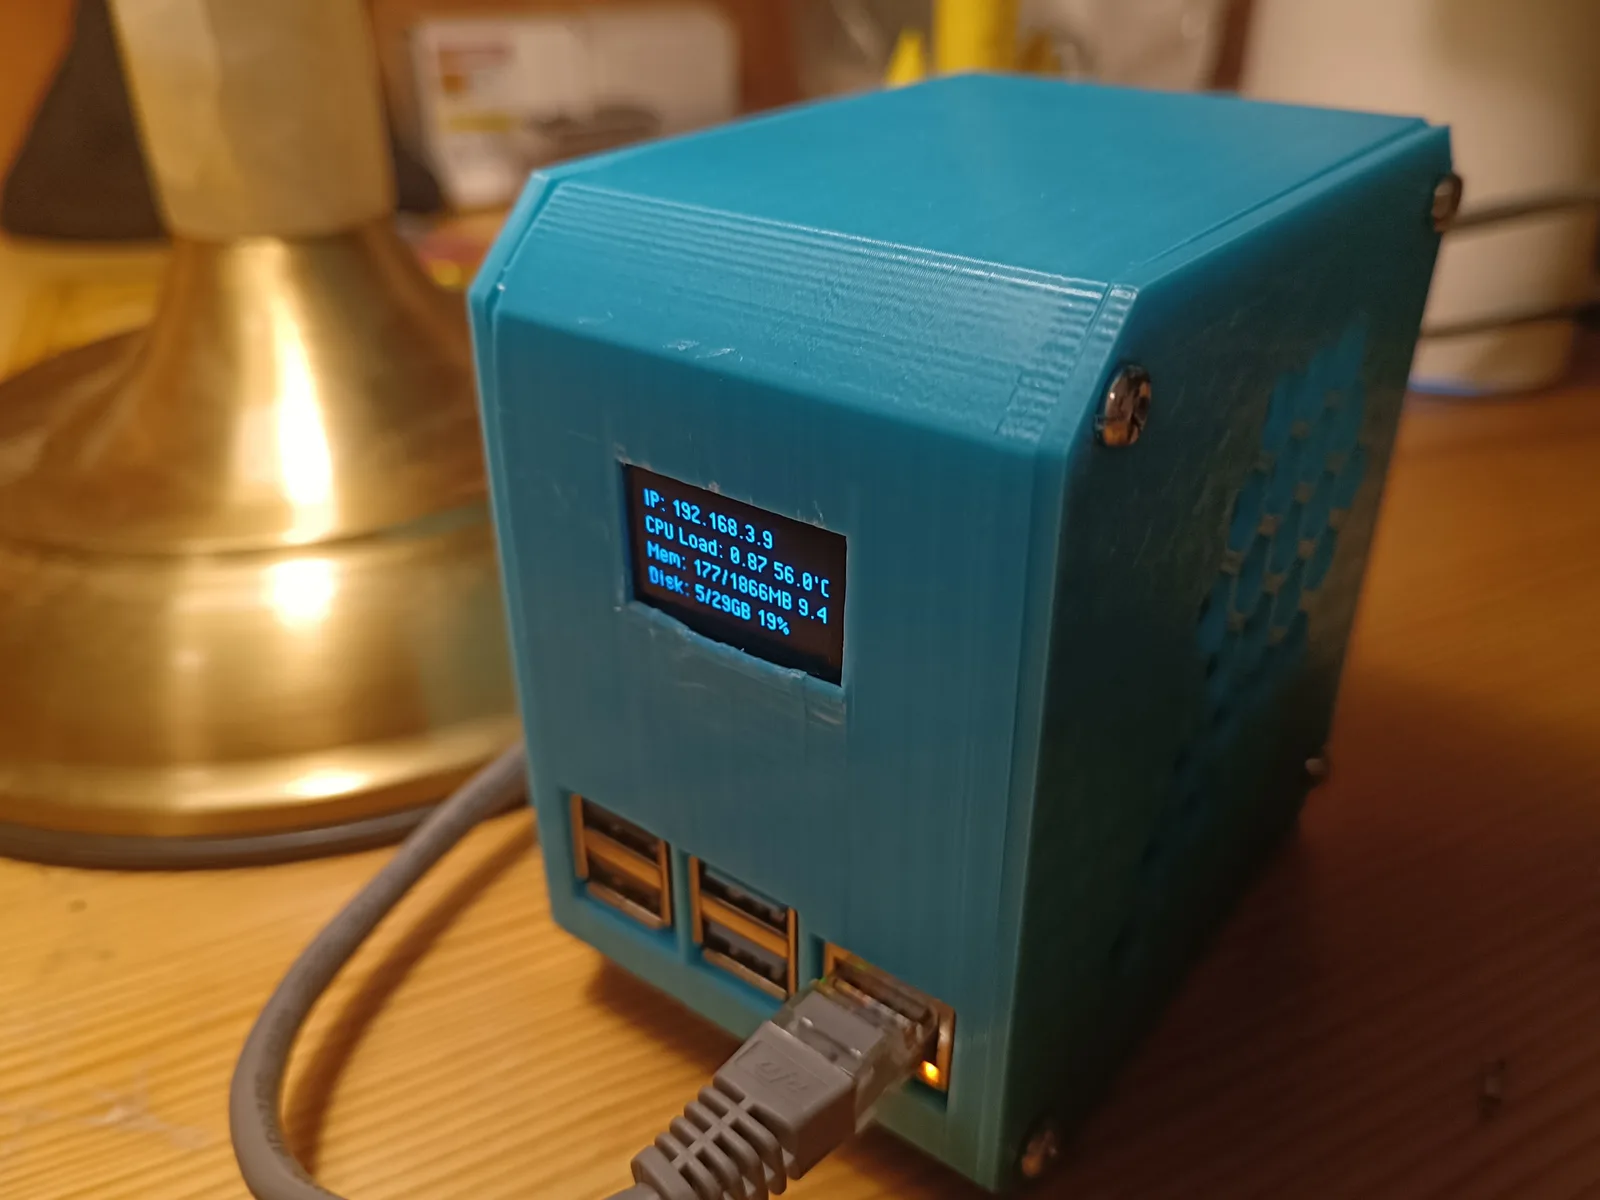
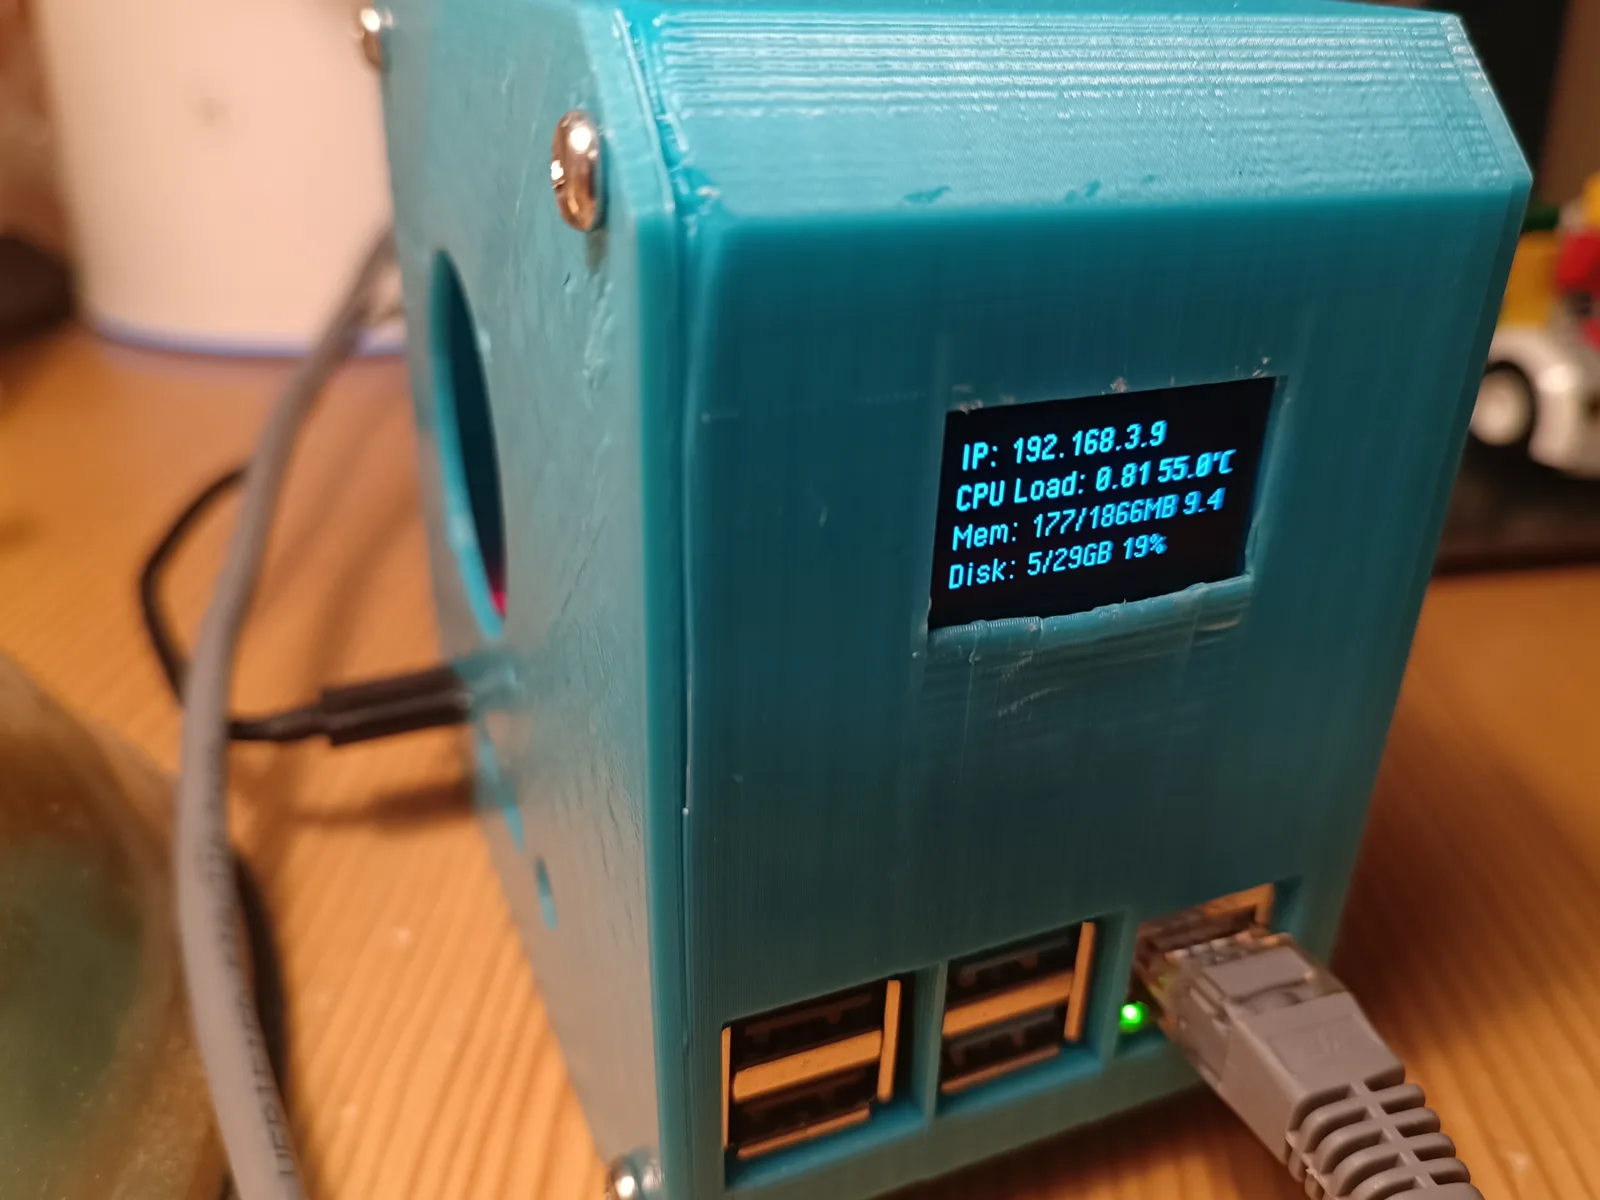
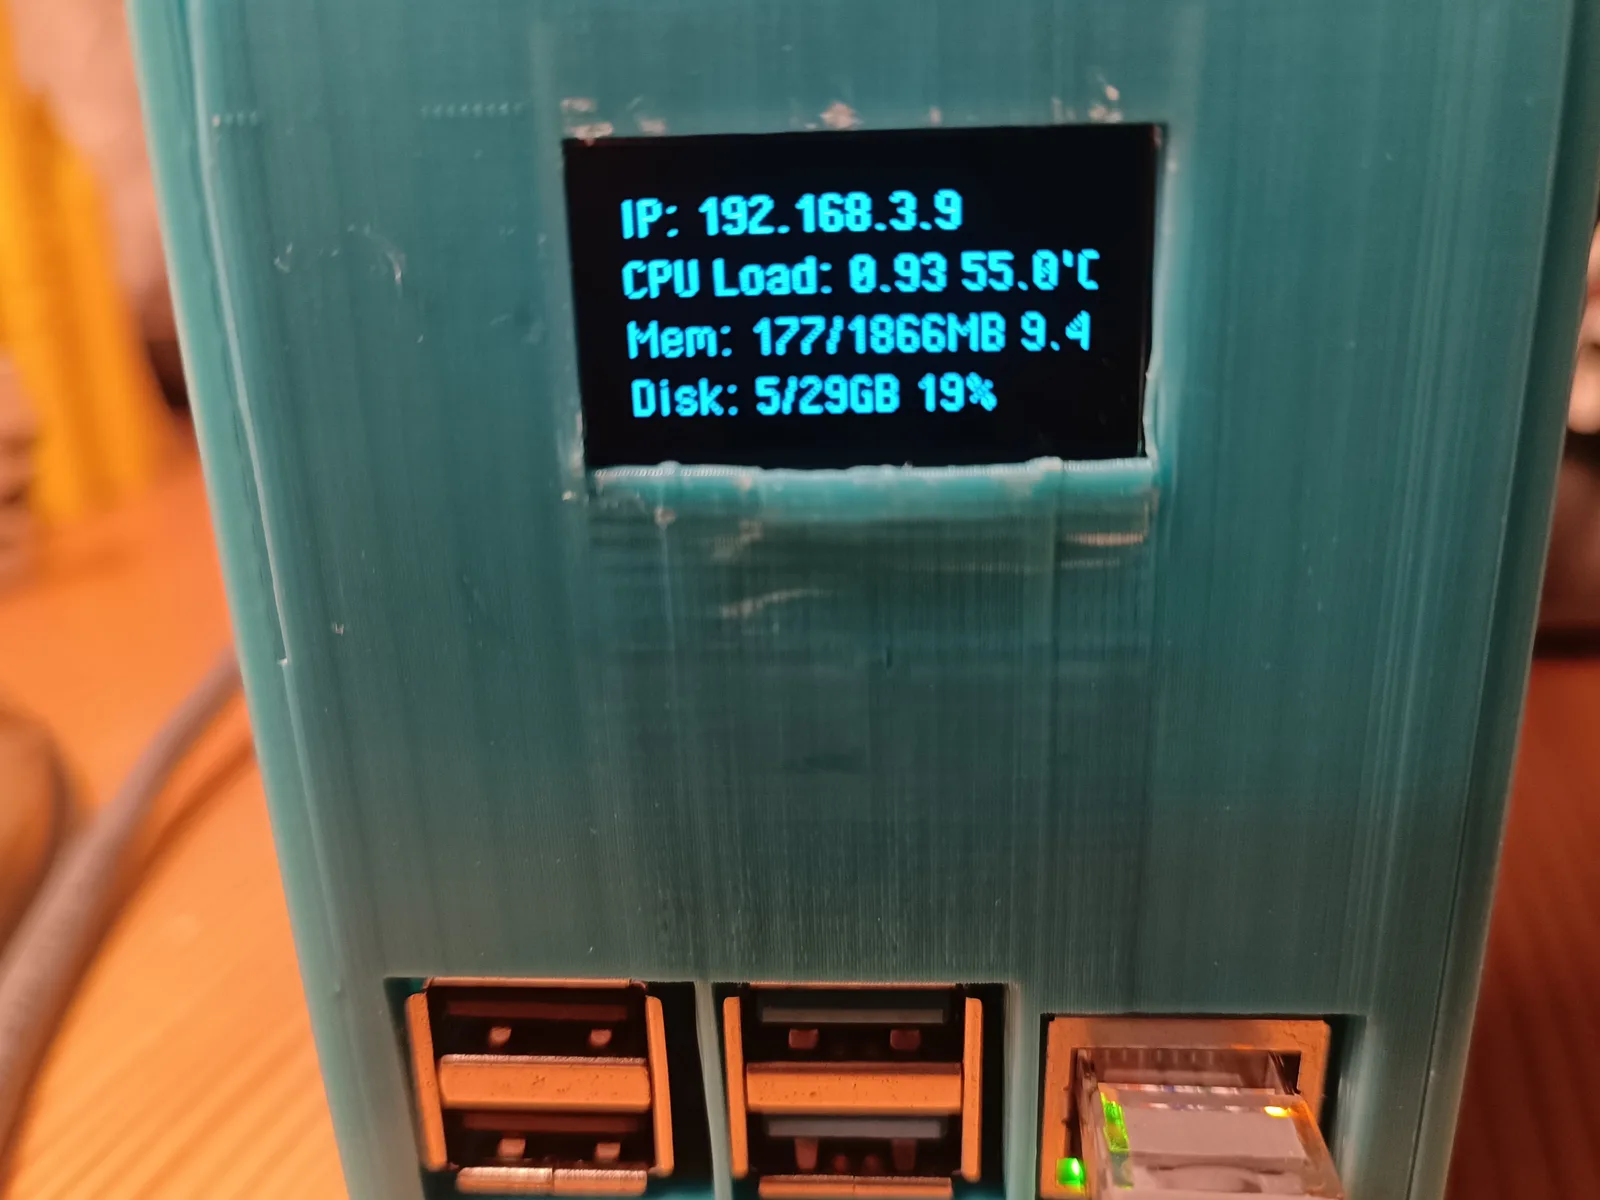
Now doesn't that look good? :3
Bye!